


Give Your Kitchen a Facelift: Stain Your Kitchen Cabinets
Your kitchen cabinets may be in good shape, but they still could do with a facelift. In such situation, you can consider transforming them with stain. All you need is some basic tools, a little energy, and some patience. Here is a step-by-step procedure for staining your kitchen cabinets.
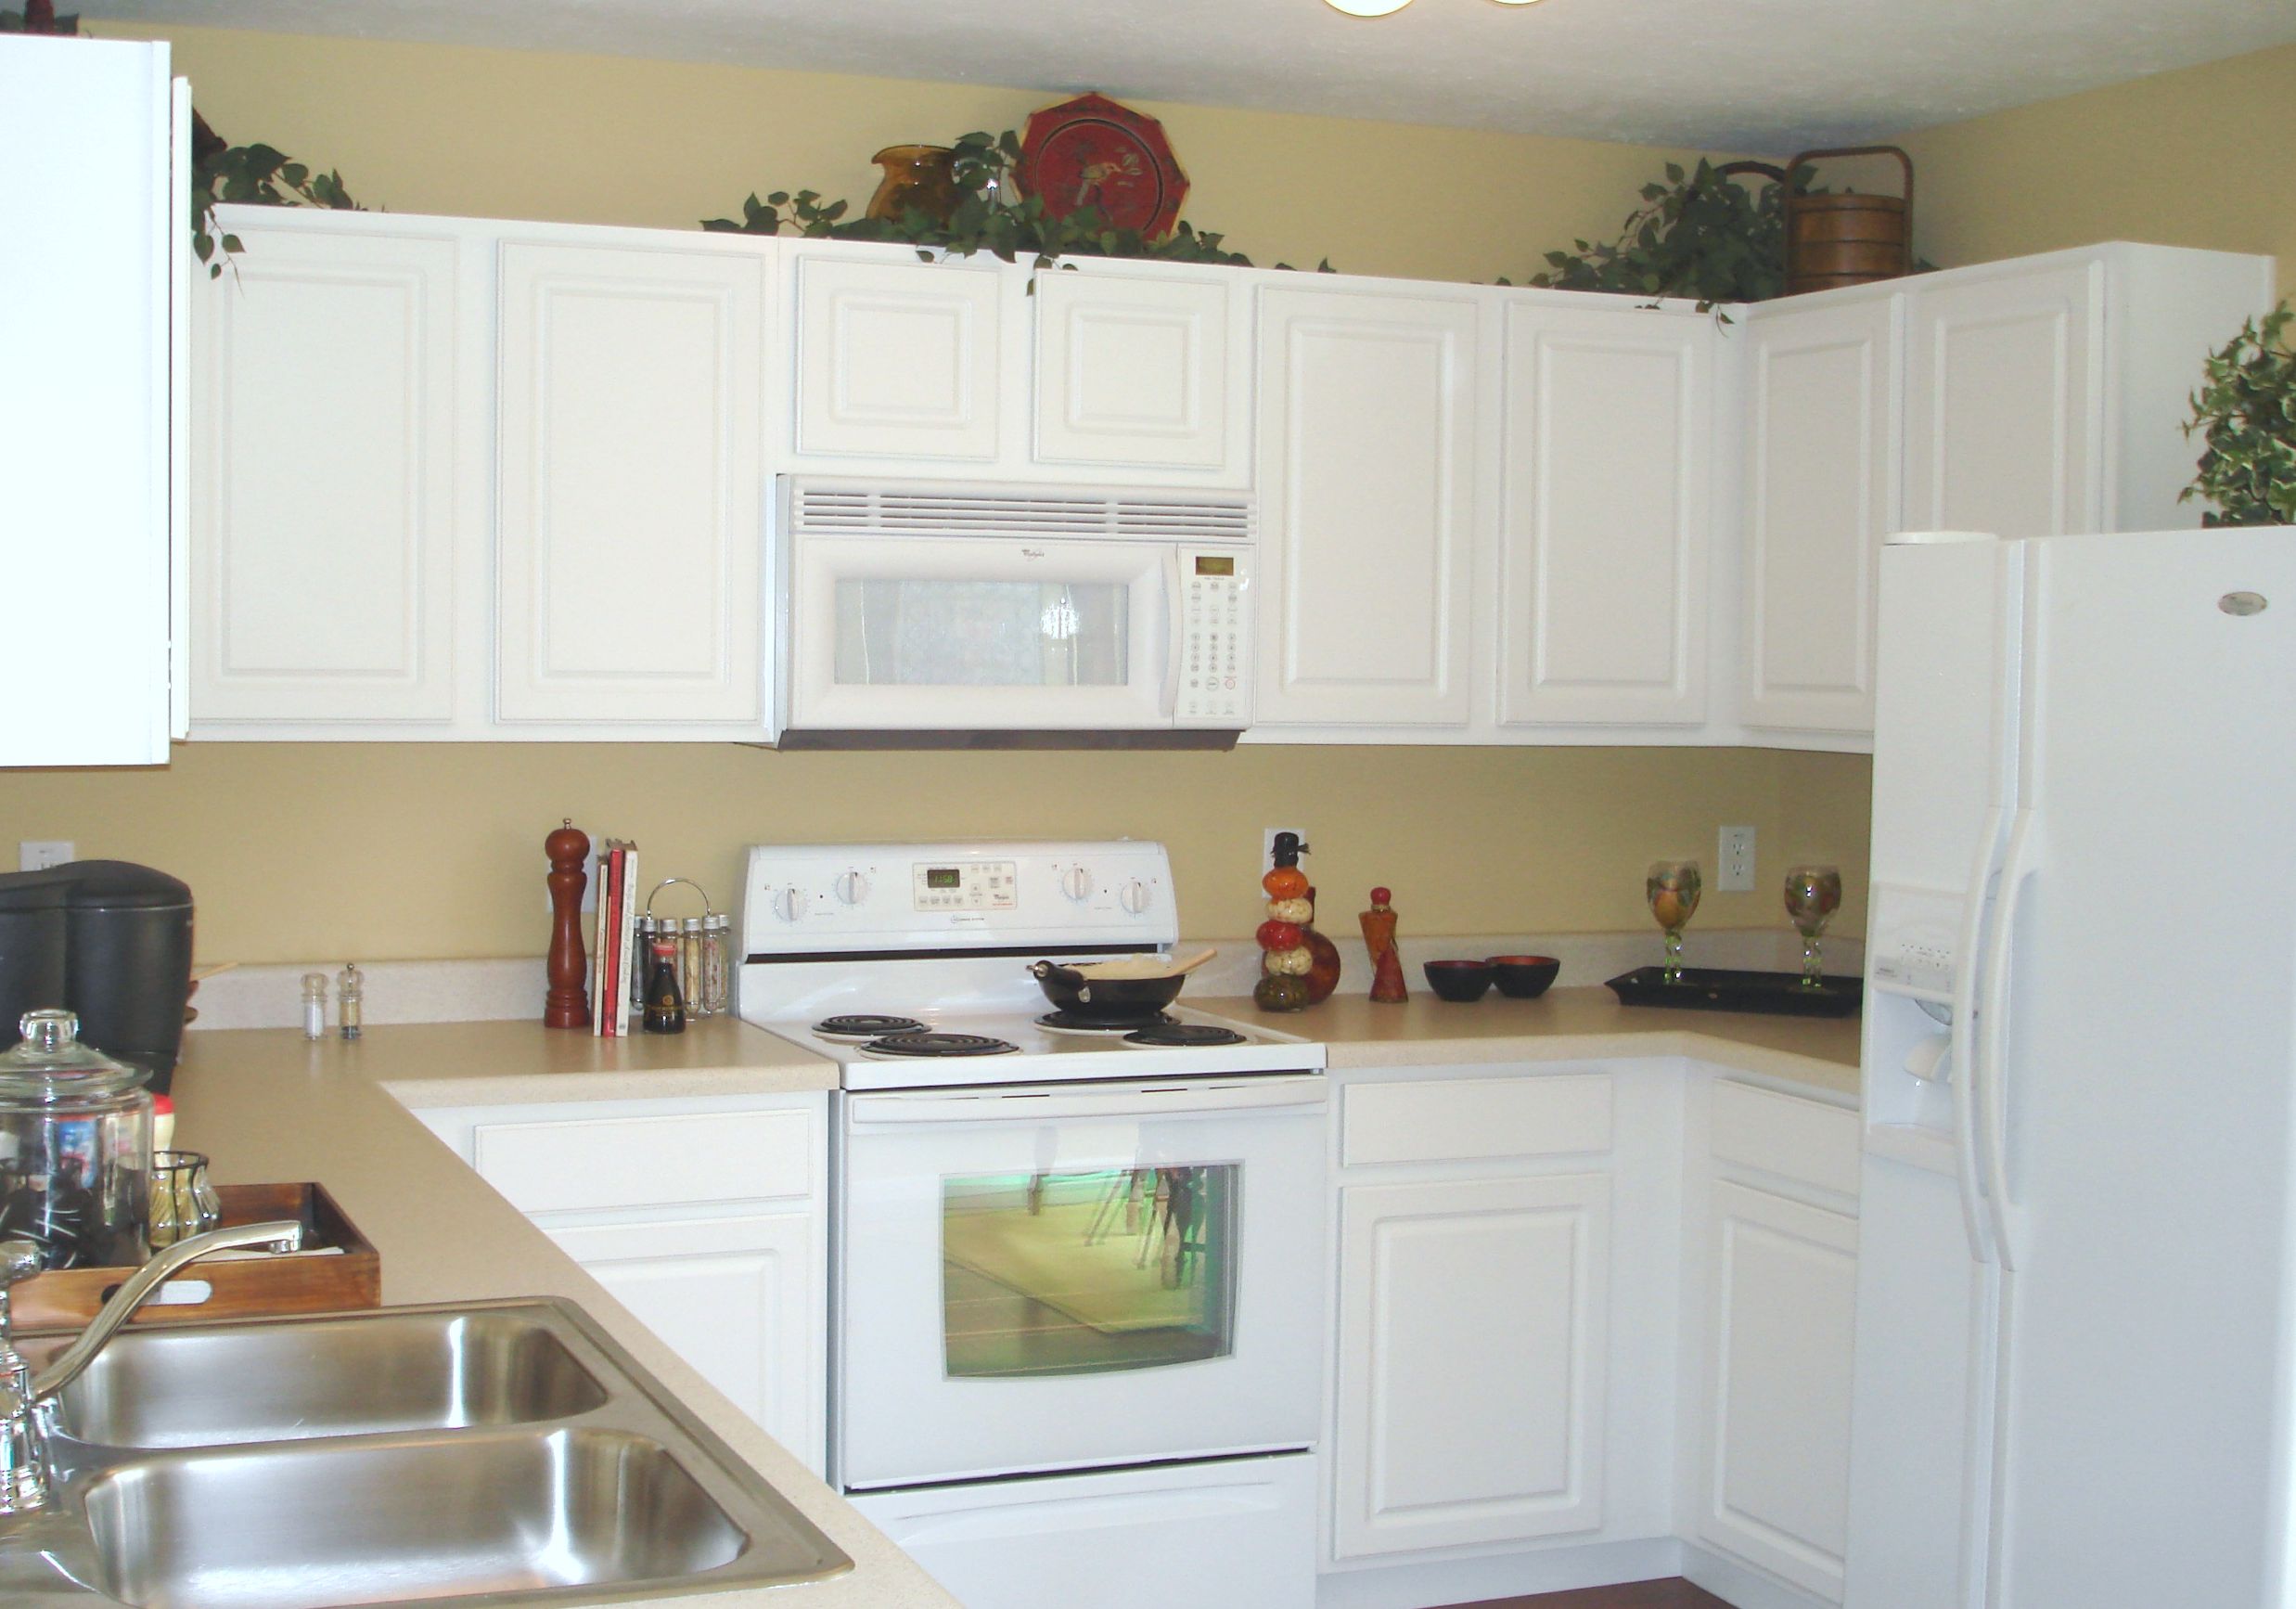
Image Courtesy of www.freeimages.com
Remove the Doors and Hardware
Staining doors when they are attached to the cabinets is not only challenging, but can also result to unwanted and unattractive drips and bubbles. Thus, the first step towards staining your kitchen cabinets is to take out all the doors, plus the hardware. Using a piece of painter’s tape, label the door placements on their back. You can use little zip-top bags to mark the hardware. Afterwards, lay the doors flat, on a large drop clothe, in a vented area.
Cleaning
Your kitchen cabinets may have accumulated layers of grease, grime, and dirt. New stain cannot adhere well to dirty, greasy surfaces. Thus, thoroughly cleaning your kitchen cabinets is an essential step. Using a rag dampened with mineral spirits, wipe down the exterior surfaces of the cabinet. Alternatively, you can use a natural cleaner that is made of distilled vinegar and hot water.
Assessment
With everything clean, you can now examine the condition of the drawer fronts and the doors. If you are looking into replacing the handles, check to ensure that the spacing and hole locations will work with the new hardware. If filling of any spaces or holes is necessary, use colored wood filler that will, as closely as possible, match the final finish. Then check the hinges for any excessive stiffness or looseness in their mechanism. Replace with new ones, any hinges that have a significant amount of looseness.
Sanding
For the new finish to adhere well to your kitchen cabinets, you will have to remove the old finish. You can do that by sanding the kitchen cabinets. Using either a sanding machine or your hands, start with a heavier grit (about 100 or 120-grit sandpaper) for the first pass. Wipe clean before you sand with a finer grit, either 180 or 220-grit sandpaper. Wipe clean and then apply a wood conditioner using a clean rag.
If you intend to change the stain color of the cabinet frames, you should repeat this procedure with the frames as well.
Staining
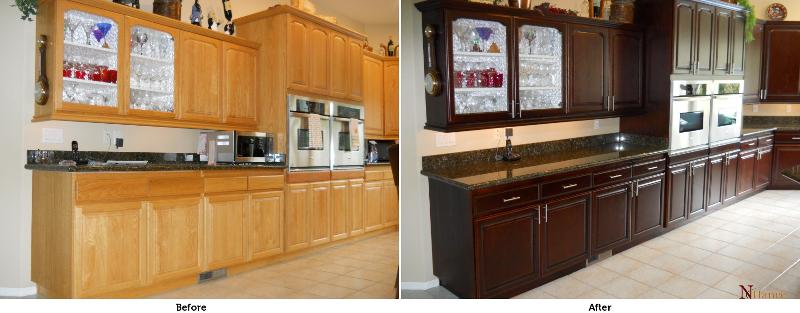 Image Courtesy of www.nhance.com
Select a stain color that enriches your kitchen decor and other wooden features, like the hardwood floor. You should brush smoothly on the stain, with even strokes. Ensure you do not saturate the cabinets with excess stain that might drip and pool.
Apply two coats of stain, before you apply a protective polyurethane finish. Remove the natural wood grain of the cabinetry and apply an extra protective coating of all-in-one stain and polyurethane finish.
Reassemble the Cabinets
Once fully dry, it is time to reattach the hardware followed by rehanging the doors. Start with installing the door hinges. Position every hinge one hinge-length from the top and the bottom of the door. When boring any screw holes, use a self-centering drill bit that aligns itself in the screw-hole, setting the appropriate depth to ensure that you don’t drill through the door.
With the freshly stained kitchen cabinets, reassembled hardware and reattached doors, step back and admire your exceptional work. Why? With the money saved, you may now have enough to pay for that other project you have been planning.


This is something I would like to do in our kitchen.