


McKenna’s Preteen Bedroom Makeover | Scrabble Wall Tiles & Crate Walls
So as all us parents know our kids grow way too fast. It really hit me a couple months ago when my daughter came to me and told me that she wanted a new bed that was more grown up. Well, little did I know that this one request was going to open a big can of worms and get me into way more work than I realized. It was time for a preteen bedroom makeover.
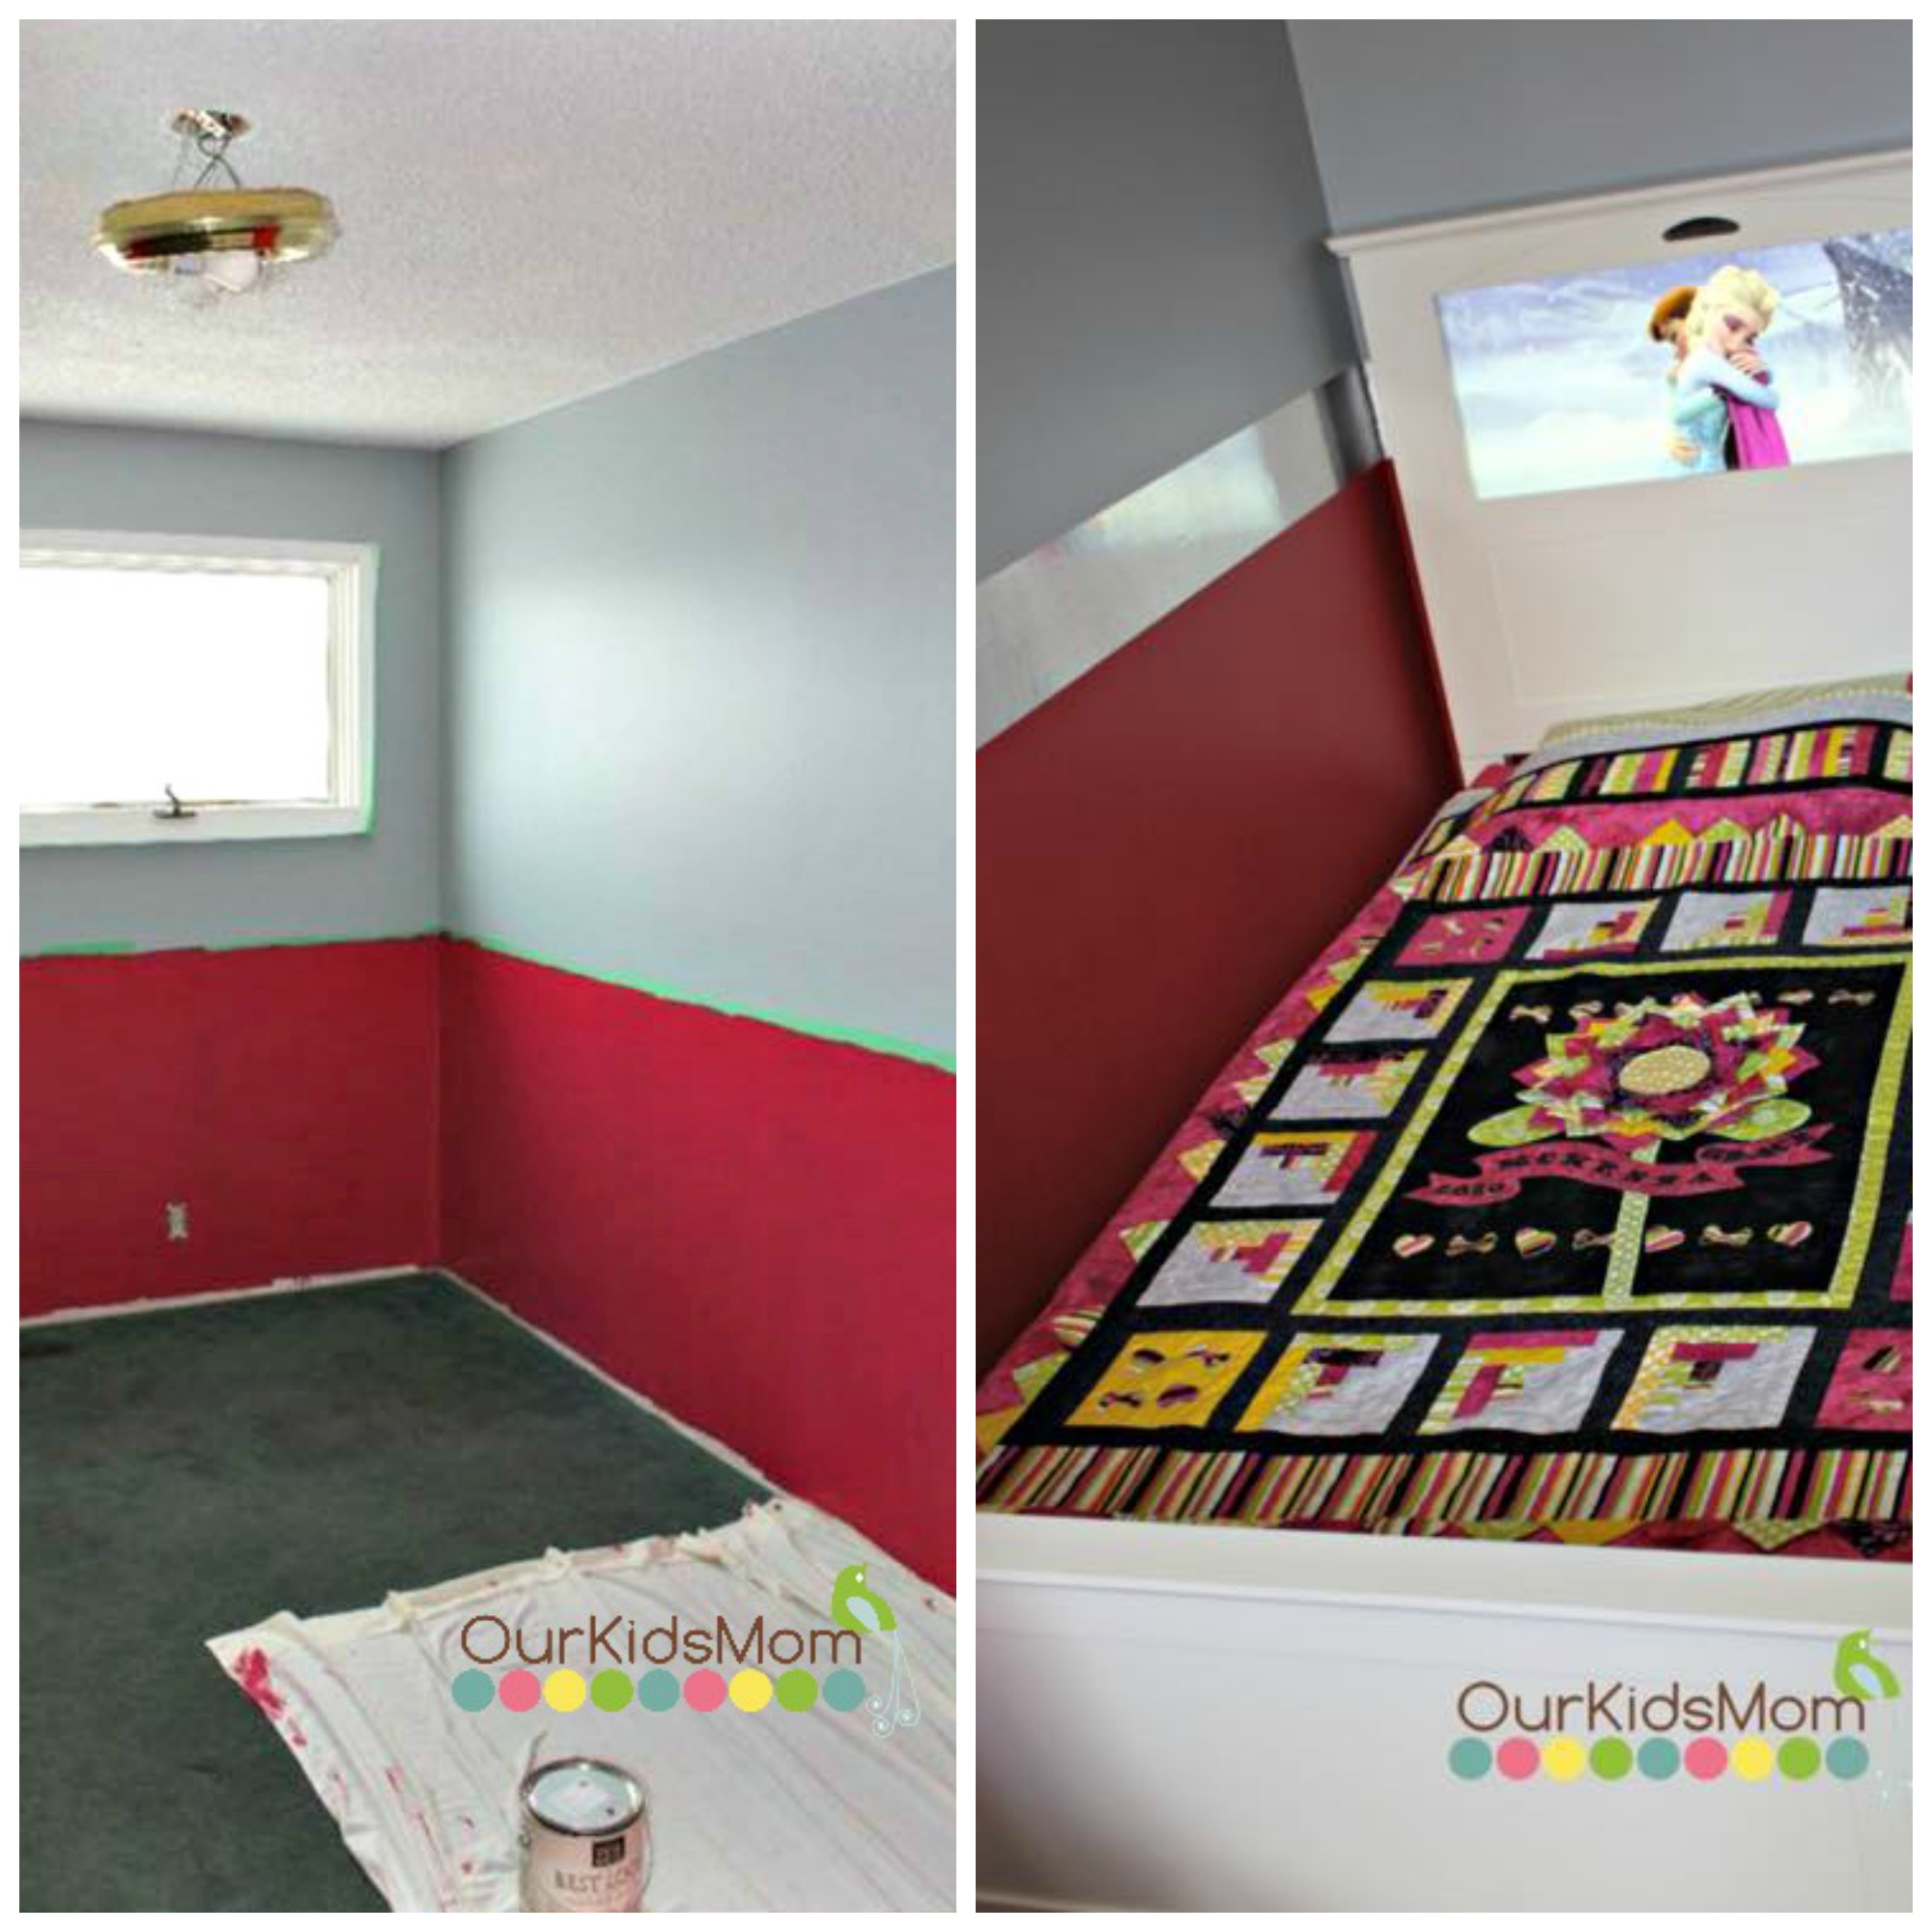
When we first moved into this house she was 3 months old and I wanted a very “girly” room, so she got grey and pink for her room. Sorry I wasn’t thinking and didn’t take any before pictures so these are the only 2 pictures I could find of her room before, but it gives you an idea of the color.
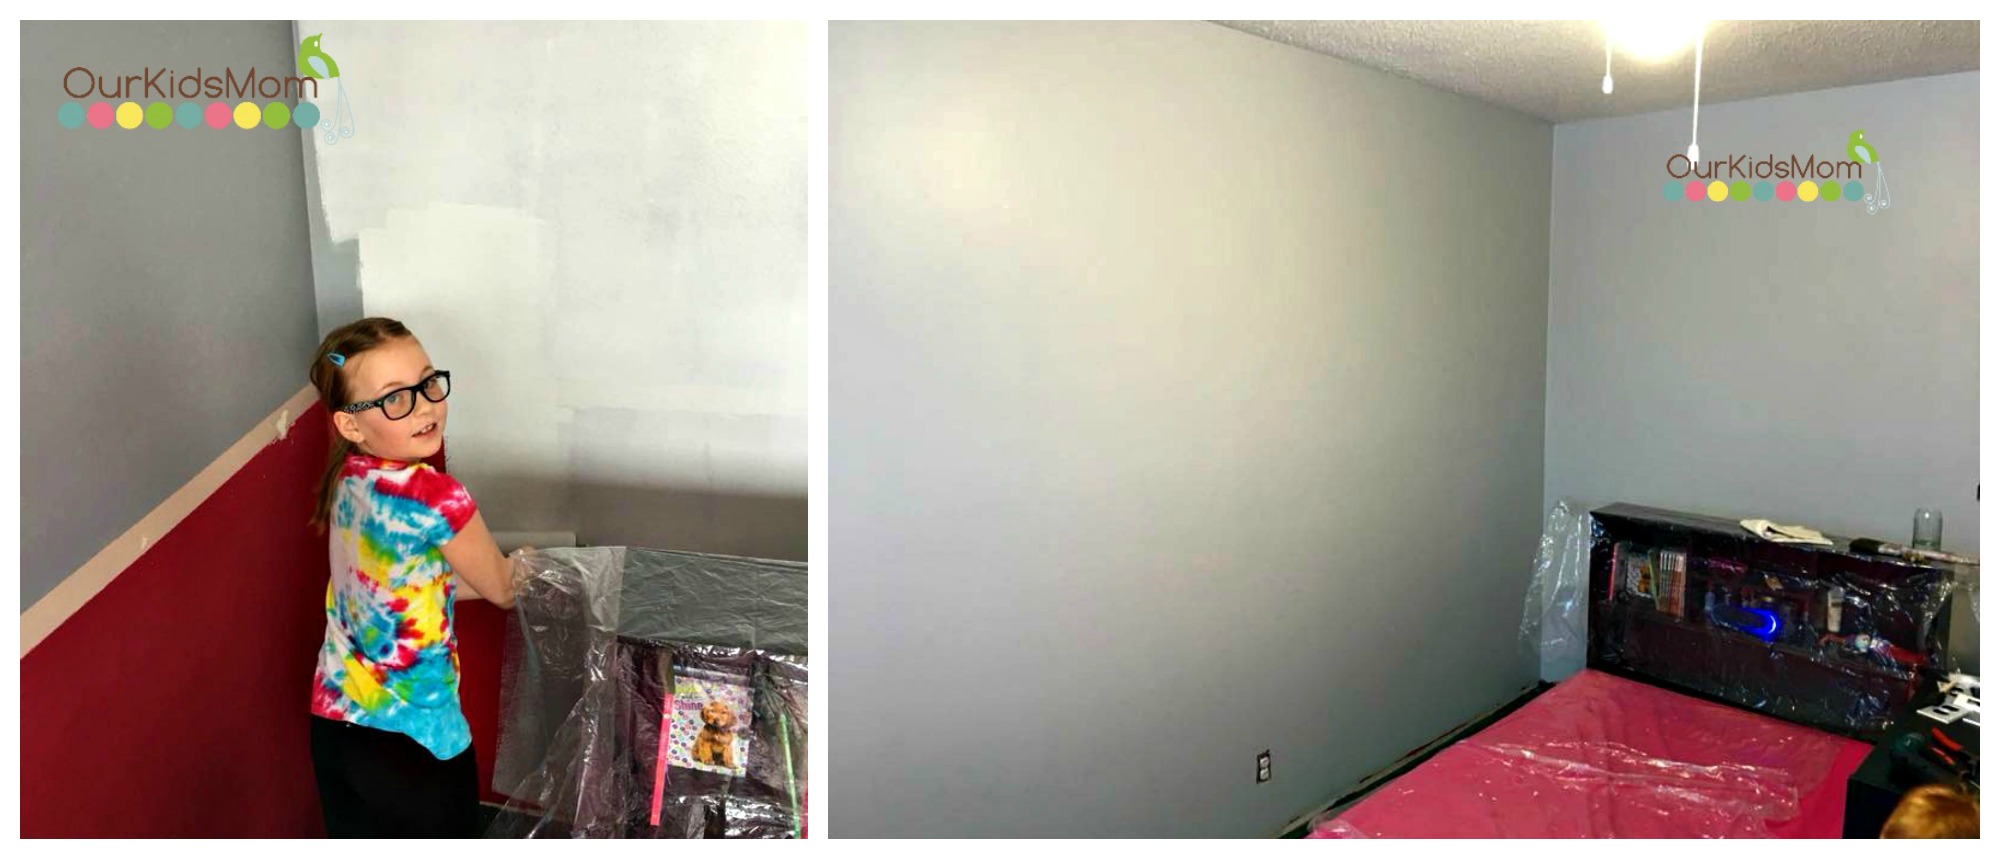
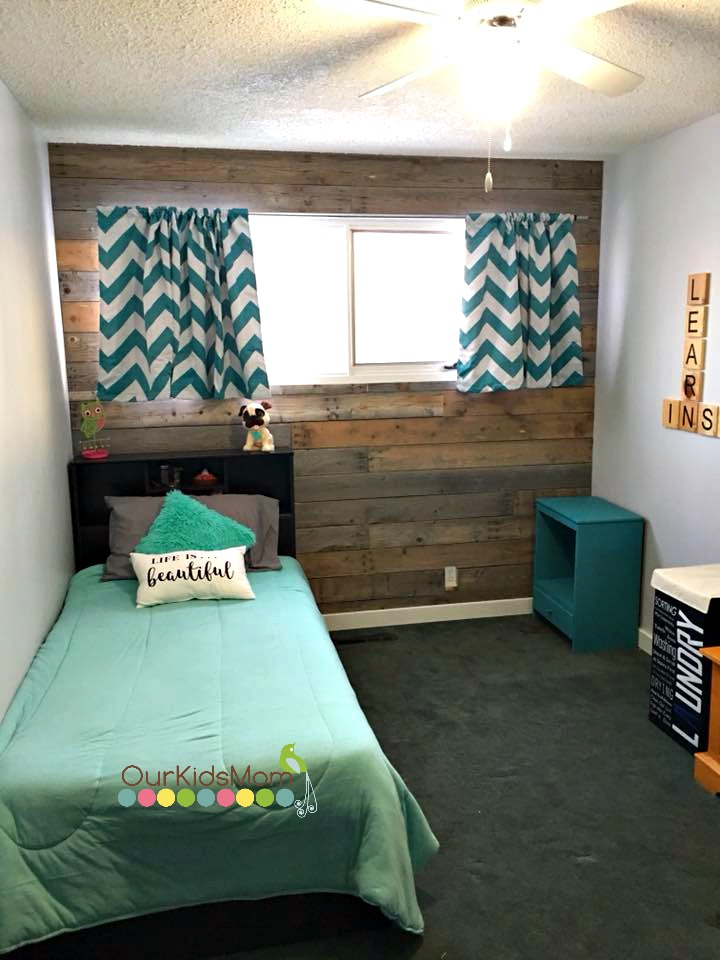
I went to a light grey for the walls as it’s bright and you can pick any accent color to add to it. When I told McKenna I would be painting her room she right away told me she wanted teal! Well I was not painting any walls teal, but teal accents I could work with.
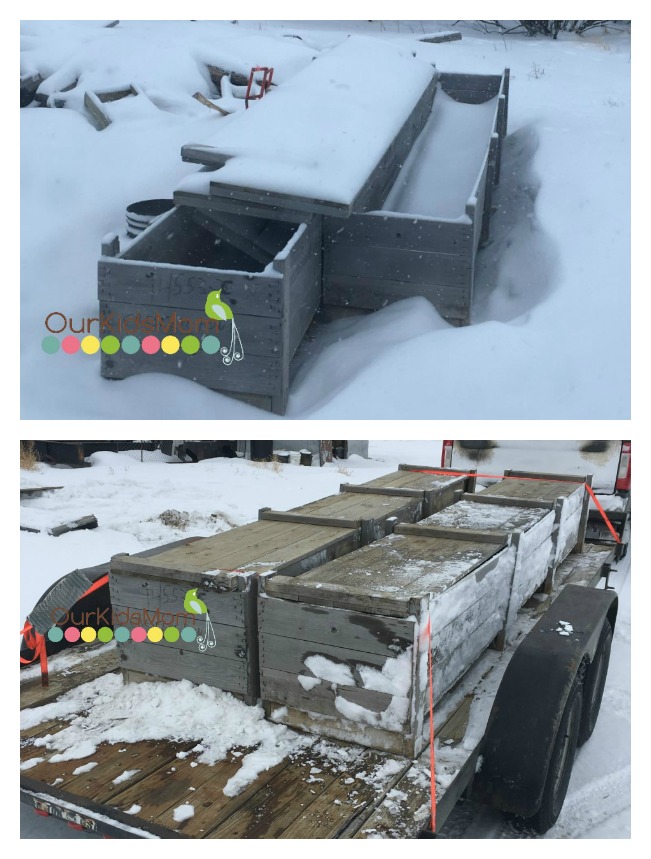
I wanted to make her room seem like the “preteen” room that she can grow into. Living out in farm country I have always loved the pallet wall look. Well my husband gets big shipping crates that get thrown out when they come and he said there were shipping crates sitting in the “bone yard”.
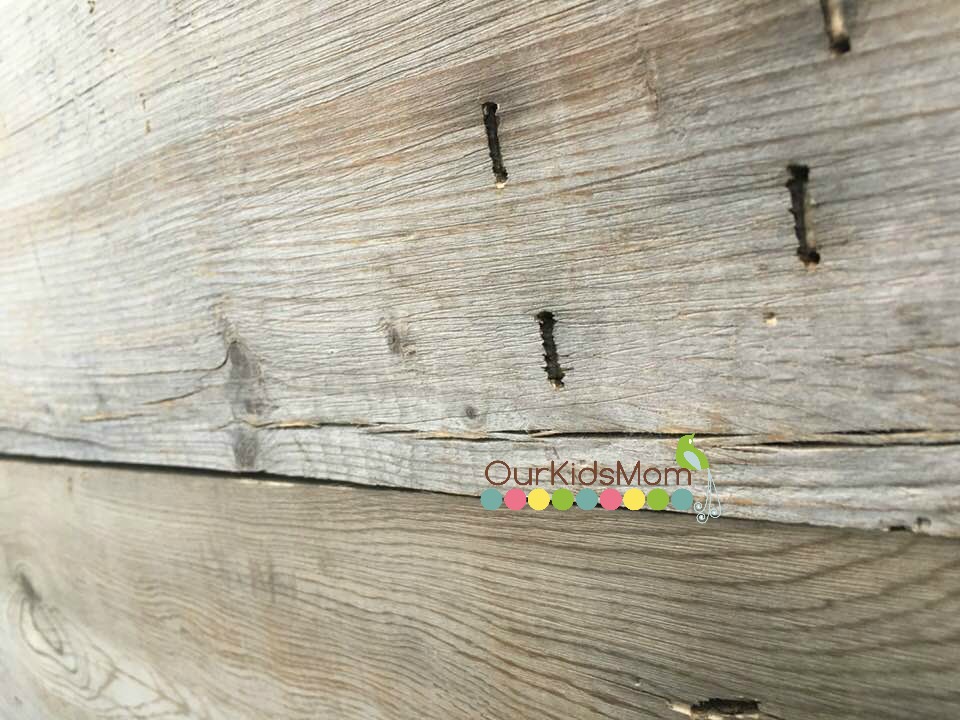
He sent me a picture of them and I knew they were perfect, they had a grey weathered color to them. Being that they were under snow we had to heat our garage so they could dry out, and I had a place to take the crates apart and pull all the staples out. Once they were taken apart and staples pulled, I used a wire brush to clean any dirt off of them, than with just a sand paper block I lightly sanded them to smoothe them off and take off any splinters.
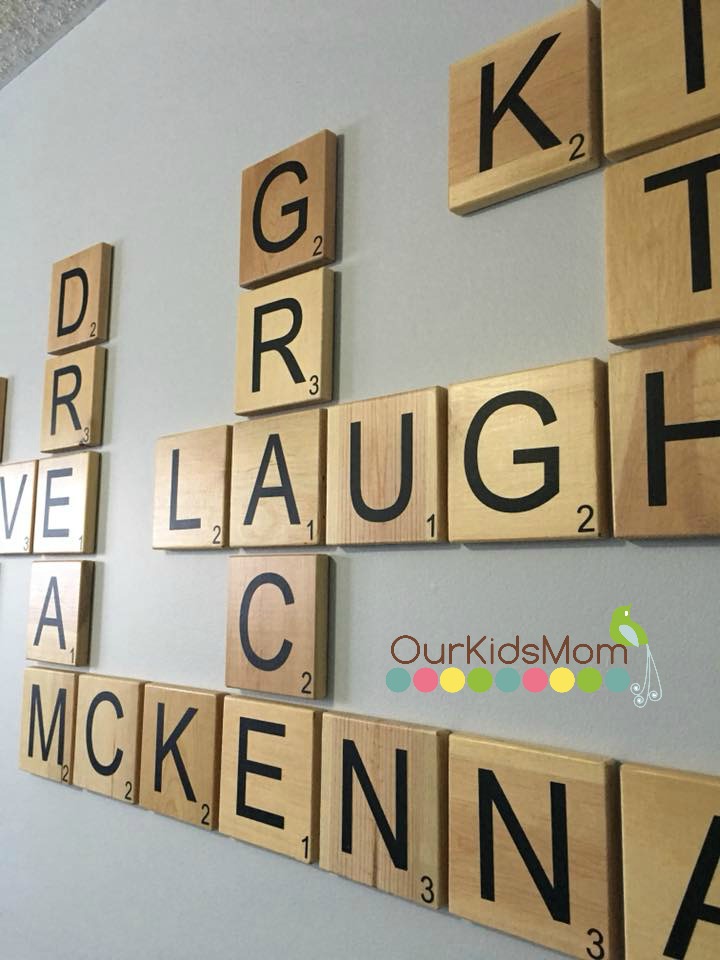
She has a big long empty wall that I know I wanted to do something special on it for her, than it came to me that I wanted to do a scrabble wall. I have seen pictures all over Pinterest of them with family names but nothing like I wanted, I wanted it big and with lots of words! First I had to come up with my words, and than arranged them to go with a horizontal flow for this wall rather than vertical.
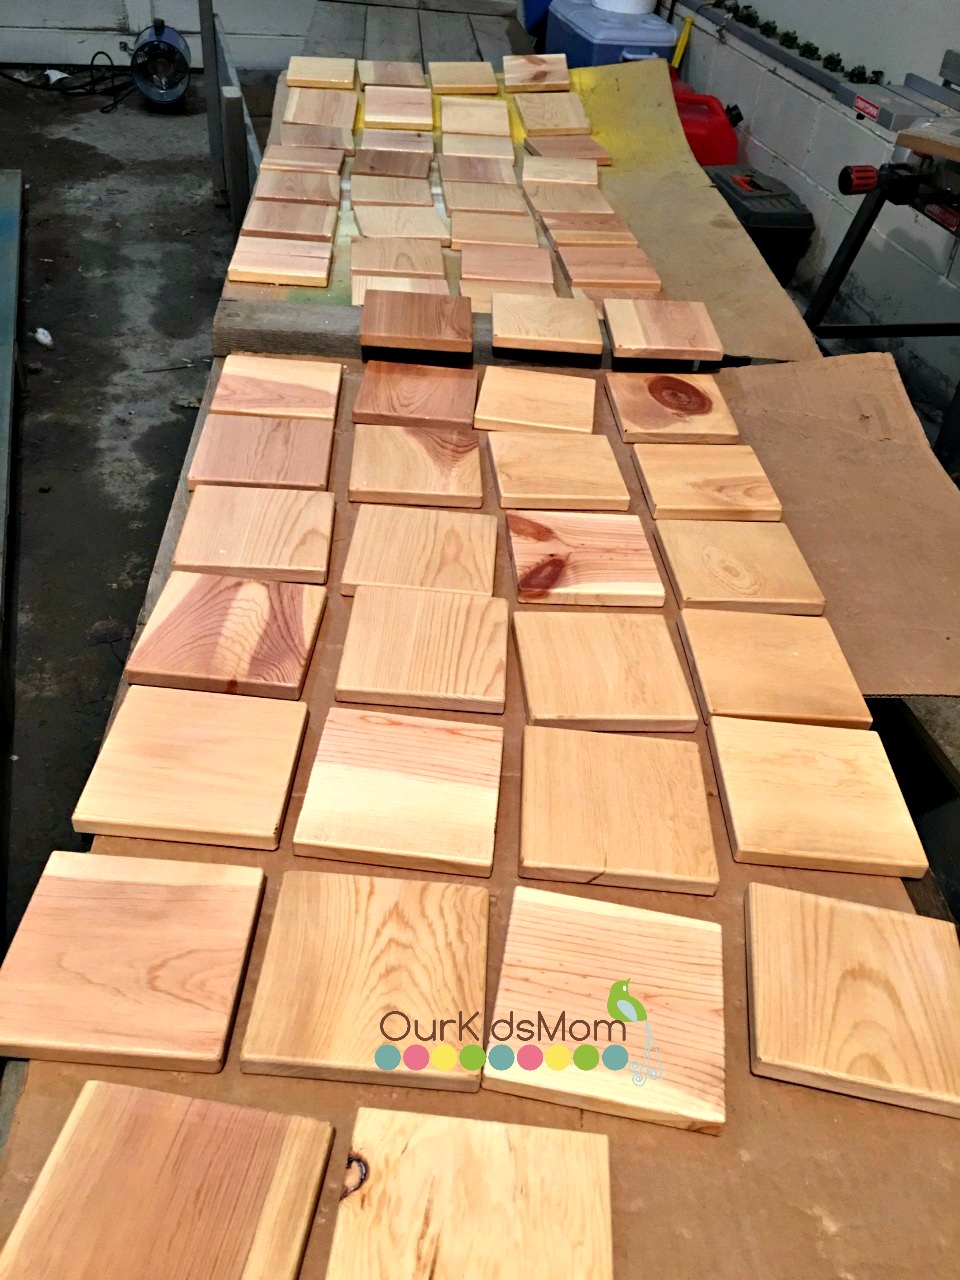
I then measured her wall to figure out how big I wanted my tiles to be. 5 inch tiles was the lucky number. My dad so lovingly cut out 60 – 5 inch tiles from some cedar he had, he planed them down to just the right thickness, than he used a router to round the edges to finish them off. He handed them over to me and I did 4 coats of varathane to make them all nice a pretty. I have to say I absolutely love the way the tiles came out, the more grain and knots in the wood the better.
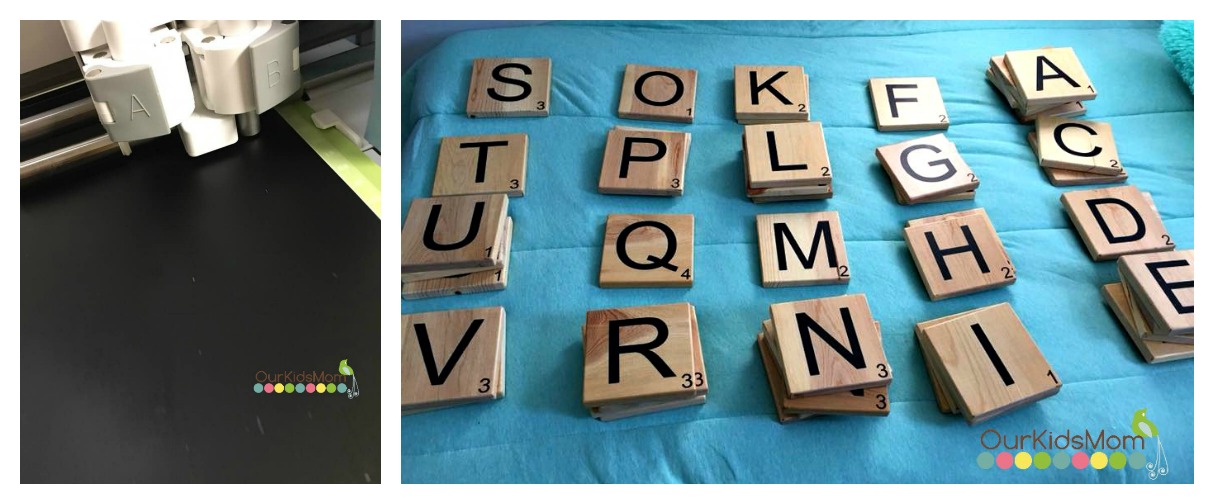
I used my Cricut to cut out all the letters I needed, and the numbers for the points on each tile. The hardest part of making the tiles was getting all the letters straight. I did notice after I was finished that I do have the odd one not as straight as I thought it was but after doing 50 tiles they all looked straight.

My husband’s days off came and we got to work at putting McKenna’s room back together. At this point I have to admit I was pretty excited to see my visions come together. Oh how I hoped it wasn’t going to become a Pinterest fail!
We started on the crate wall and brought in the air compressor and started to pin the boards up. Each row we got done I couldn’t help but step back and admire how it looked. We chose her window wall so that the crate wall wouldn’t take any light away from inside the room.
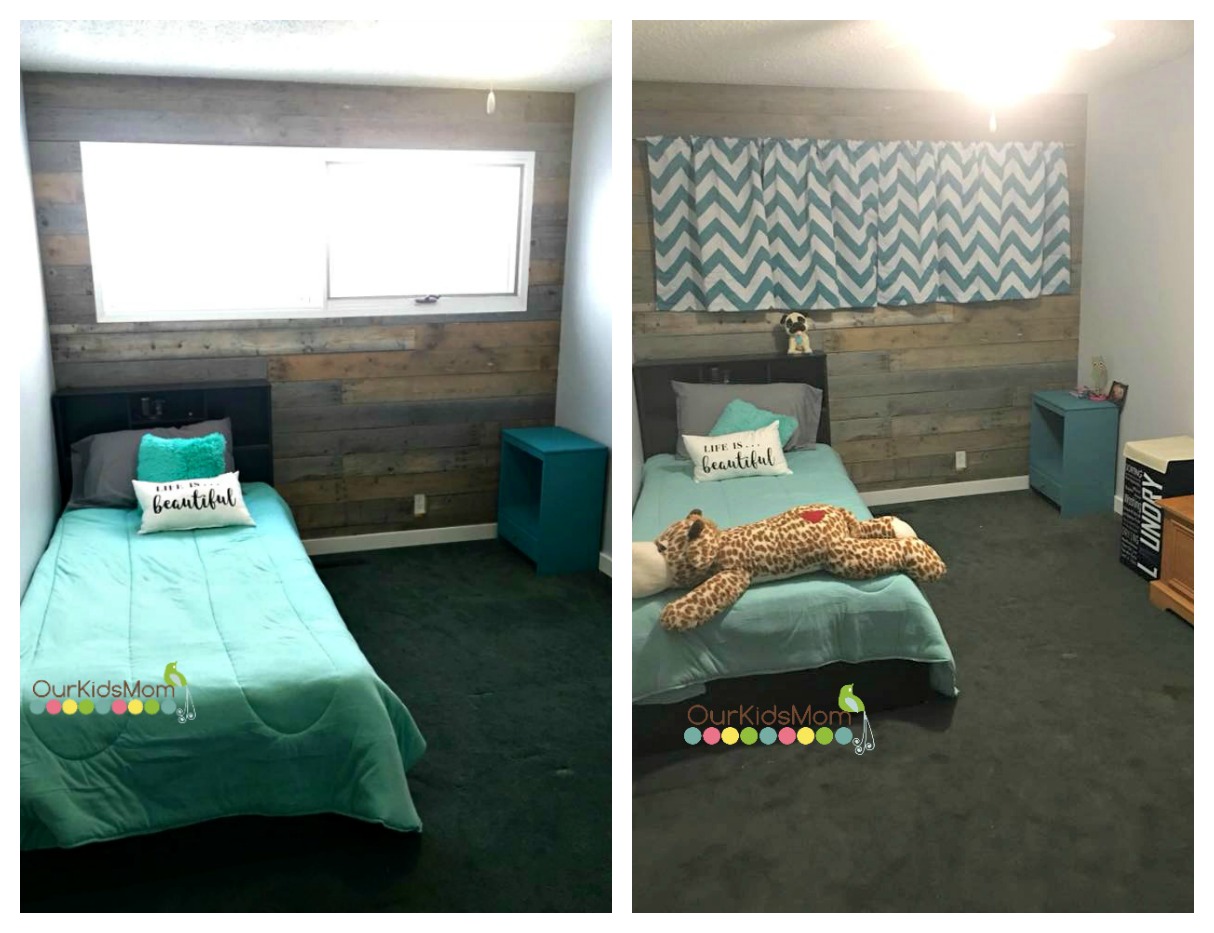
The crate wall was done. Next I cut some curtains I had ordered and made 2 panels into 4. Cut and sewn the curtains are up and another step closer to getting done.
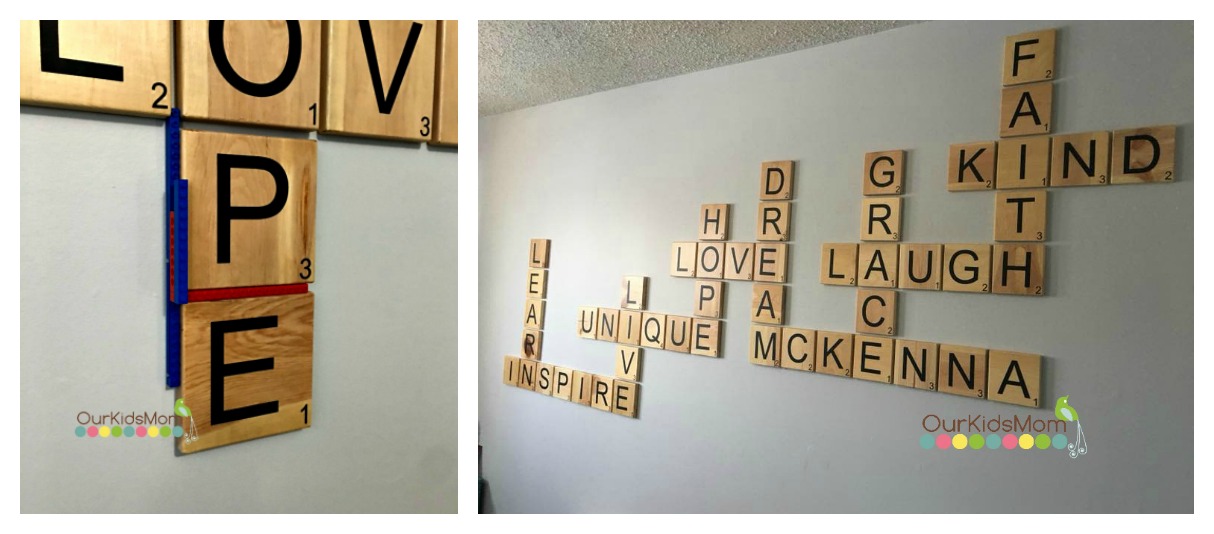
Time to start on her scrabble wall. I measured to find the center of the word puzzle as well as the center of the wall so I knew where to start. With a laser level I got the first couple tiles straight and level. I did run into a small snag… how was I going to keep a even gap between each tile? Then my husband came in with a Lego jig he created for me. I did laugh a bit at first but honestly it was perfect and worked amazing.
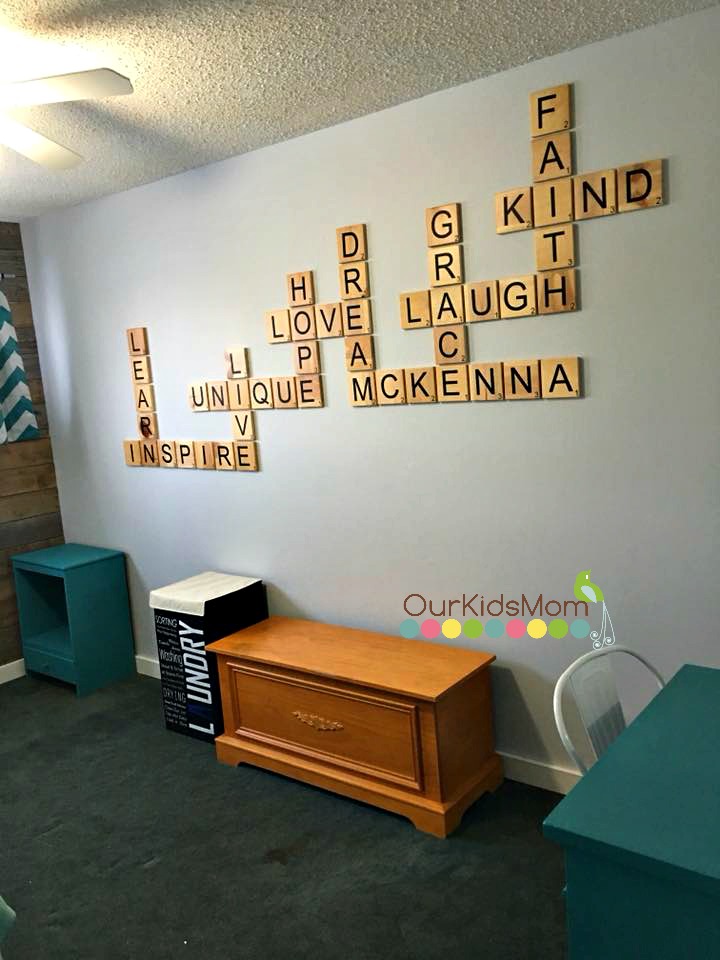
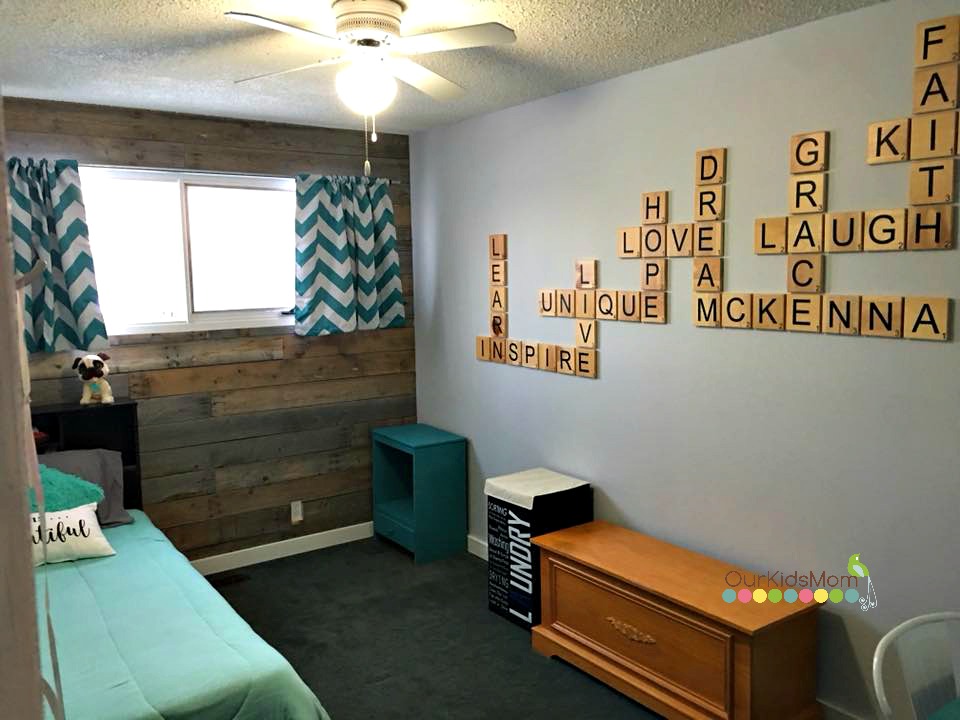
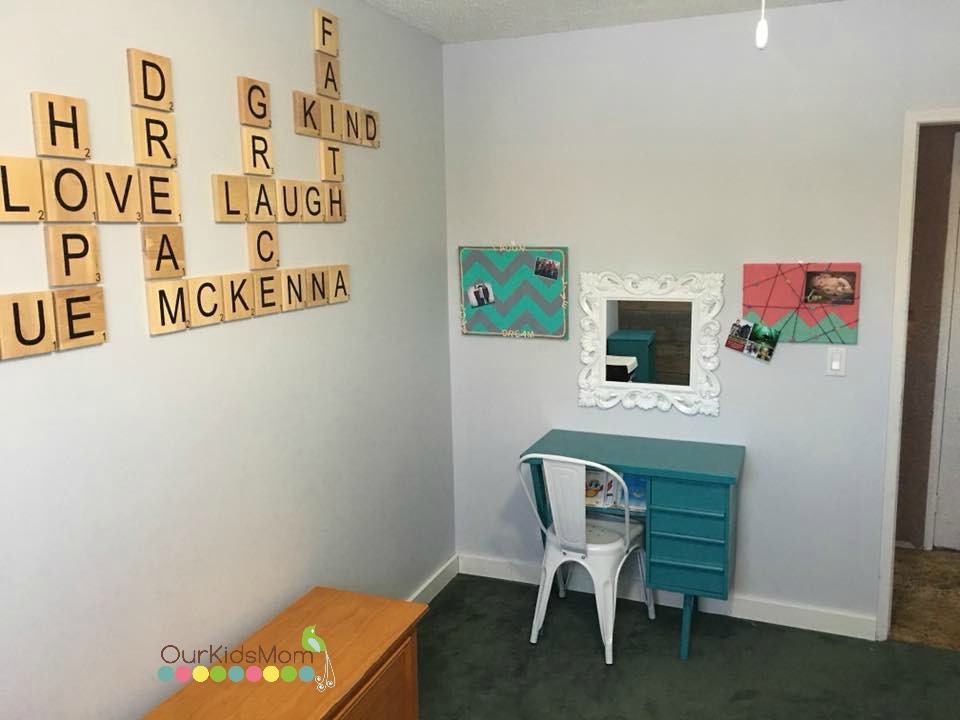
I also found a small desk for her and made a bulletin board and a photo board for her to have a spot to put all her pictures and notes up on. Her room is now done and I couldn’t be any more happy with how it turned out.
McKenna loves her new space.


It looks so good!!!!